Multi Gateways Per Cluster with namespace-scope
Overview
In this approach, multiple environments (dev, prod, etc..) share the same Kubernetes cluster. Each environment has its own dedicated namespace containing the Kubernetes gateway dataplane.

Advantages
- Resource Efficiency: This pattern maximizes resource utilization by allowing multiple environments to coexist within the same cluster.
- Simplified Management: Managing a single cluster with multiple namespaces can be more straightforward compared to managing separate clusters.
Considerations
- Isolation: While namespaces provide a level of isolation, they may not offer the same level of isolation as separate clusters. You don't need a cluster-wide permission to add this option.
Installation guideline
Note
Deploying the multi gateway at the cluster must be done using the updated 1.3.0-1 helm-chart which can be obtained from this link. Additionally, the relevant enterprise images must be used for the installation as shown in the following link for Enterprise Installation Instructions.
Create a namespace for your Kubernetes Gateway installation.
bash
kubectl create namespace apk
Install CRD to the Cluster
Download the Custom Resource Definitions (CRDs) file from this link and install it in your Kubernetes cluster using the following command:
bash
kubectl apply -f crds.yaml
Section 1: Add Kubernetes Gateway Helm Repository
Adding the Kubernetes Gateway Helm repository allows your system to fetch and install the latest Kubernetes Gateway components from the remote repository. This ensures that you are always using the most up-to-date version of Kubernetes Gateway.
```console helm repo add wso2 https://helm.wso2.com
helm repo update ```
Section 2: Install Kubernetes Gateway Components
-
Download
values.yamlFileTo obtain the
values.yamlfile, you can use thehelm show valuescommand. Replace<repository-name>with the actual repository name and<version-of-APK>with the desired version of the Kubernetes Gateway. Run the following command:helm show values wso2/apk-helm --version 1.3.0-1 > values.yamlhelm show values <repository-name>/apk-helm --version <version-of-APK> > values.yaml -
Add the following key to the
values.yamlfile to skip the default installation of CRDs.yaml skipCrds: true -
Change the
values.yamlfile by adding the following configurations forresourceLevelPermissionsand disabling ClusterRole creation.yaml wso2: apk: auth: enabled: true enableServiceAccountCreation: true enableClusterRoleCreation: false serviceAccountName: wso2apk-platform resourceLevelPermissions: scope: Namespaced roleName: wso2apk-role -
By default, the helm installation creates a Service Account, Role, and RoleBinding for the Kubernetes Gateway components only within the namespace in which you install it. Optionally you may add other namespaces as desired to the
apiNamespacesin thevalues.yamlfile under theadapterandcommonControllersections. This will allow the Kubernetes Gateway to manage APIs in those namespaces as well. However, you will need to create additional Roles and RoleBindings for those namespaces as well. ```yaml adapter: deployment: configs: apiNamespaces: - "apk-v12"
commonController: deployment: configs: apiNamespaces: - "apk-v12" ```
-
Disable the ClusterRole and ClusterRoleBinding that are created by default to support the Kubernetes Gateway API admission webhook server. This can be done by modifying the
values.yamlfile as follows:yaml gatewaySystem: enabled: false # Disables the Gateway API admission webhook server -
Install Helm Chart Most production deployments require you to customize the values.yaml file. If you have no custom changes, you can use the default configuration as-is. To begin the installation, run the following command.
helm install apk wso2/apk-helm --version 1.3.0-1 -f values.yaml --skip-crdshelm install <chart-name> <repository-name>/apk-helm --version <version-of-APK> -f <path-to-values.yaml-file> --skip-crds -
If you wish to deploy the Kubernetes Gateway in another namespace, you can follow the same steps starting from section 2.
Verify the deployment
Verifying the deployment confirms that all Kubernetes Gateway components are successfully installed and running as expected. If any issues arise, troubleshooting them at this stage ensures a smooth API deployment process. Check the status of deployed pods:
kubectl get pods -n apk
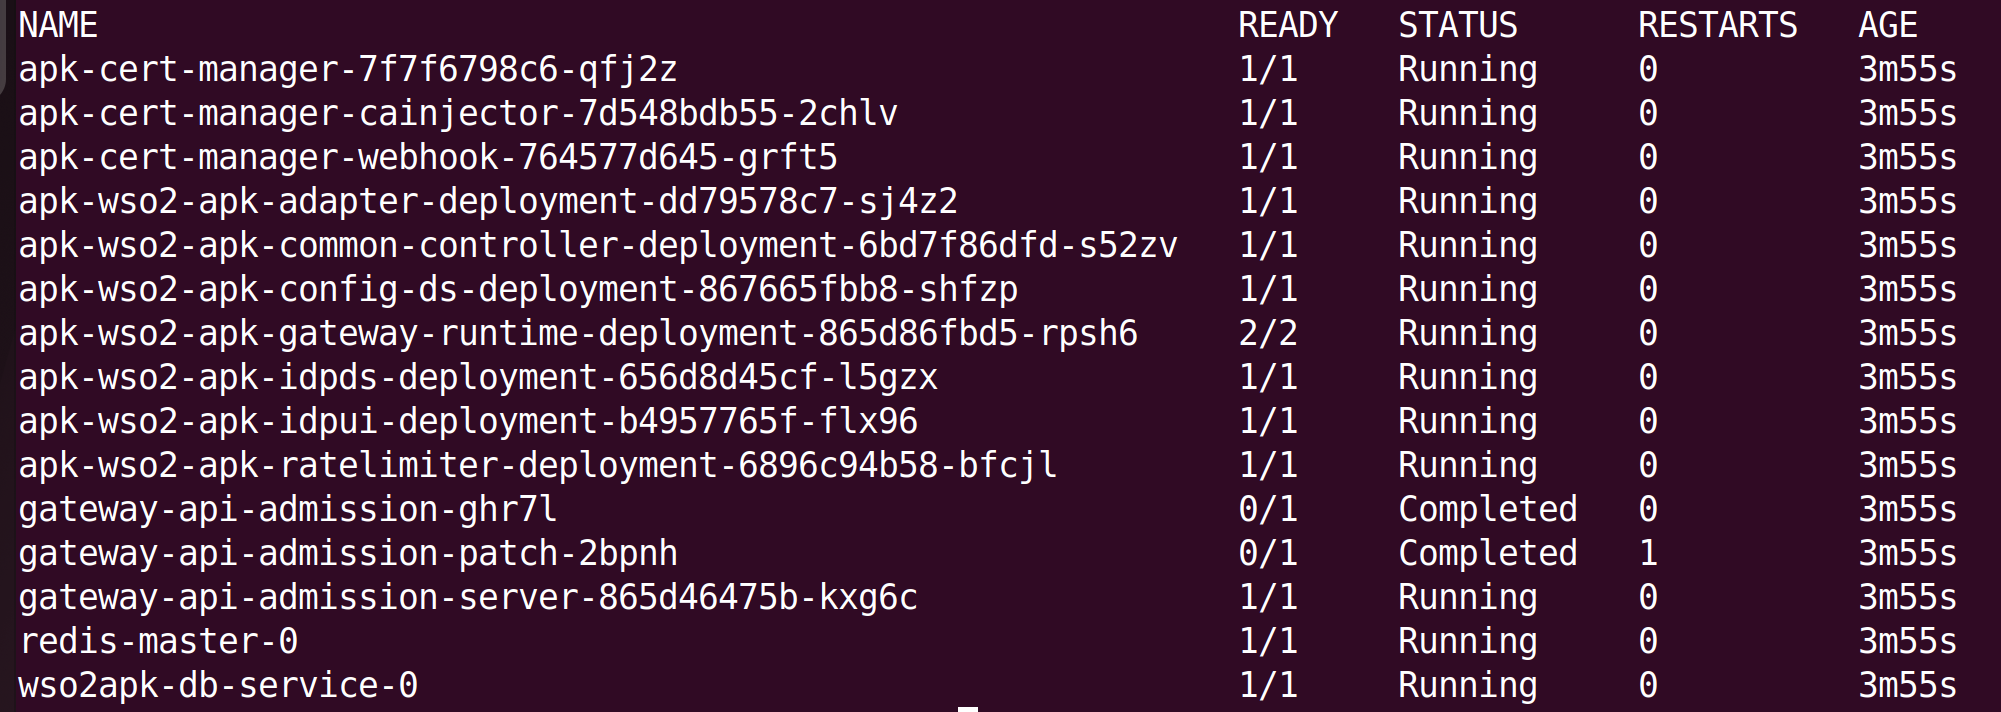
Important
Except for the gateway-apim-admission and gateway-apim-admission-patch (which will run as soon as Kubernetes Gateway is installed and then complete), all other pods should transition to the running state. If they have not, please refer the FAQs to troubleshoot the problem.