Configure Analytics for Moesif
Step 1 - Get Collector Application Id
-
Sign up for Moesif.
-
During the sign up process, you will receive a Collector Application Id for your configured application. Copy this value and keep it saved.
Step 2 - Configure APK
-
Create a secret containing the Moesif Collector Application ID using the following command. Replace the
moesif-collector-application-idwith your Collector Application ID.kubectl create secret generic moesif-secret --from-literal=moesifToken='<moesif-collector-application-id>' -n apkkubectl create secret generic <secret-name> --from-literal=moesifToken='<moesif-collector-application-id>' -n <namespace> -
Follow the instructions outlined in Customize Configurations. These instructions will guide you through the process of acquiring the
values.yamlfile. -
Replace
secret-namein the following configuration with the name of the secret you created in the previous step.
analytics:
 enabled: true
 publishers:
 - enabled: true
   type: "moesif"
   secretName: <secret-name>
- Open the
values.yamlfile, and add the above configuration to thegatewayRuntimesection underdp. Your values.yaml file should have a structure as follows:
wso2:
  ...
  apk:
    ...
    dp:
      ...
      gatewayRuntime:
        analytics:
          enabled: true
          publishers:
          - enabled: true
            type: "moesif"
            secretName: <secret-name>
values.yaml.
Optional - Adding Multiple Publishers
You can also set multiple publishers for analytics as follows. Replace choreo-secret-name and moesif-secret-name with the appropriate values.
gatewayRuntime:
  analytics:
    enabled: true
    publishers:
      - enabled: true
        type: "default"
        secretName: <choreo-secret-name>
      - enabled: true
        type: "elk"
      - enabled: true
        type: "moesif"
        secretName: <moesif-secret-name>
Step 3 - View Analytics Data
-
After setting up the enforcer, invoke a few requests (success and failure) for a deployed API.
-
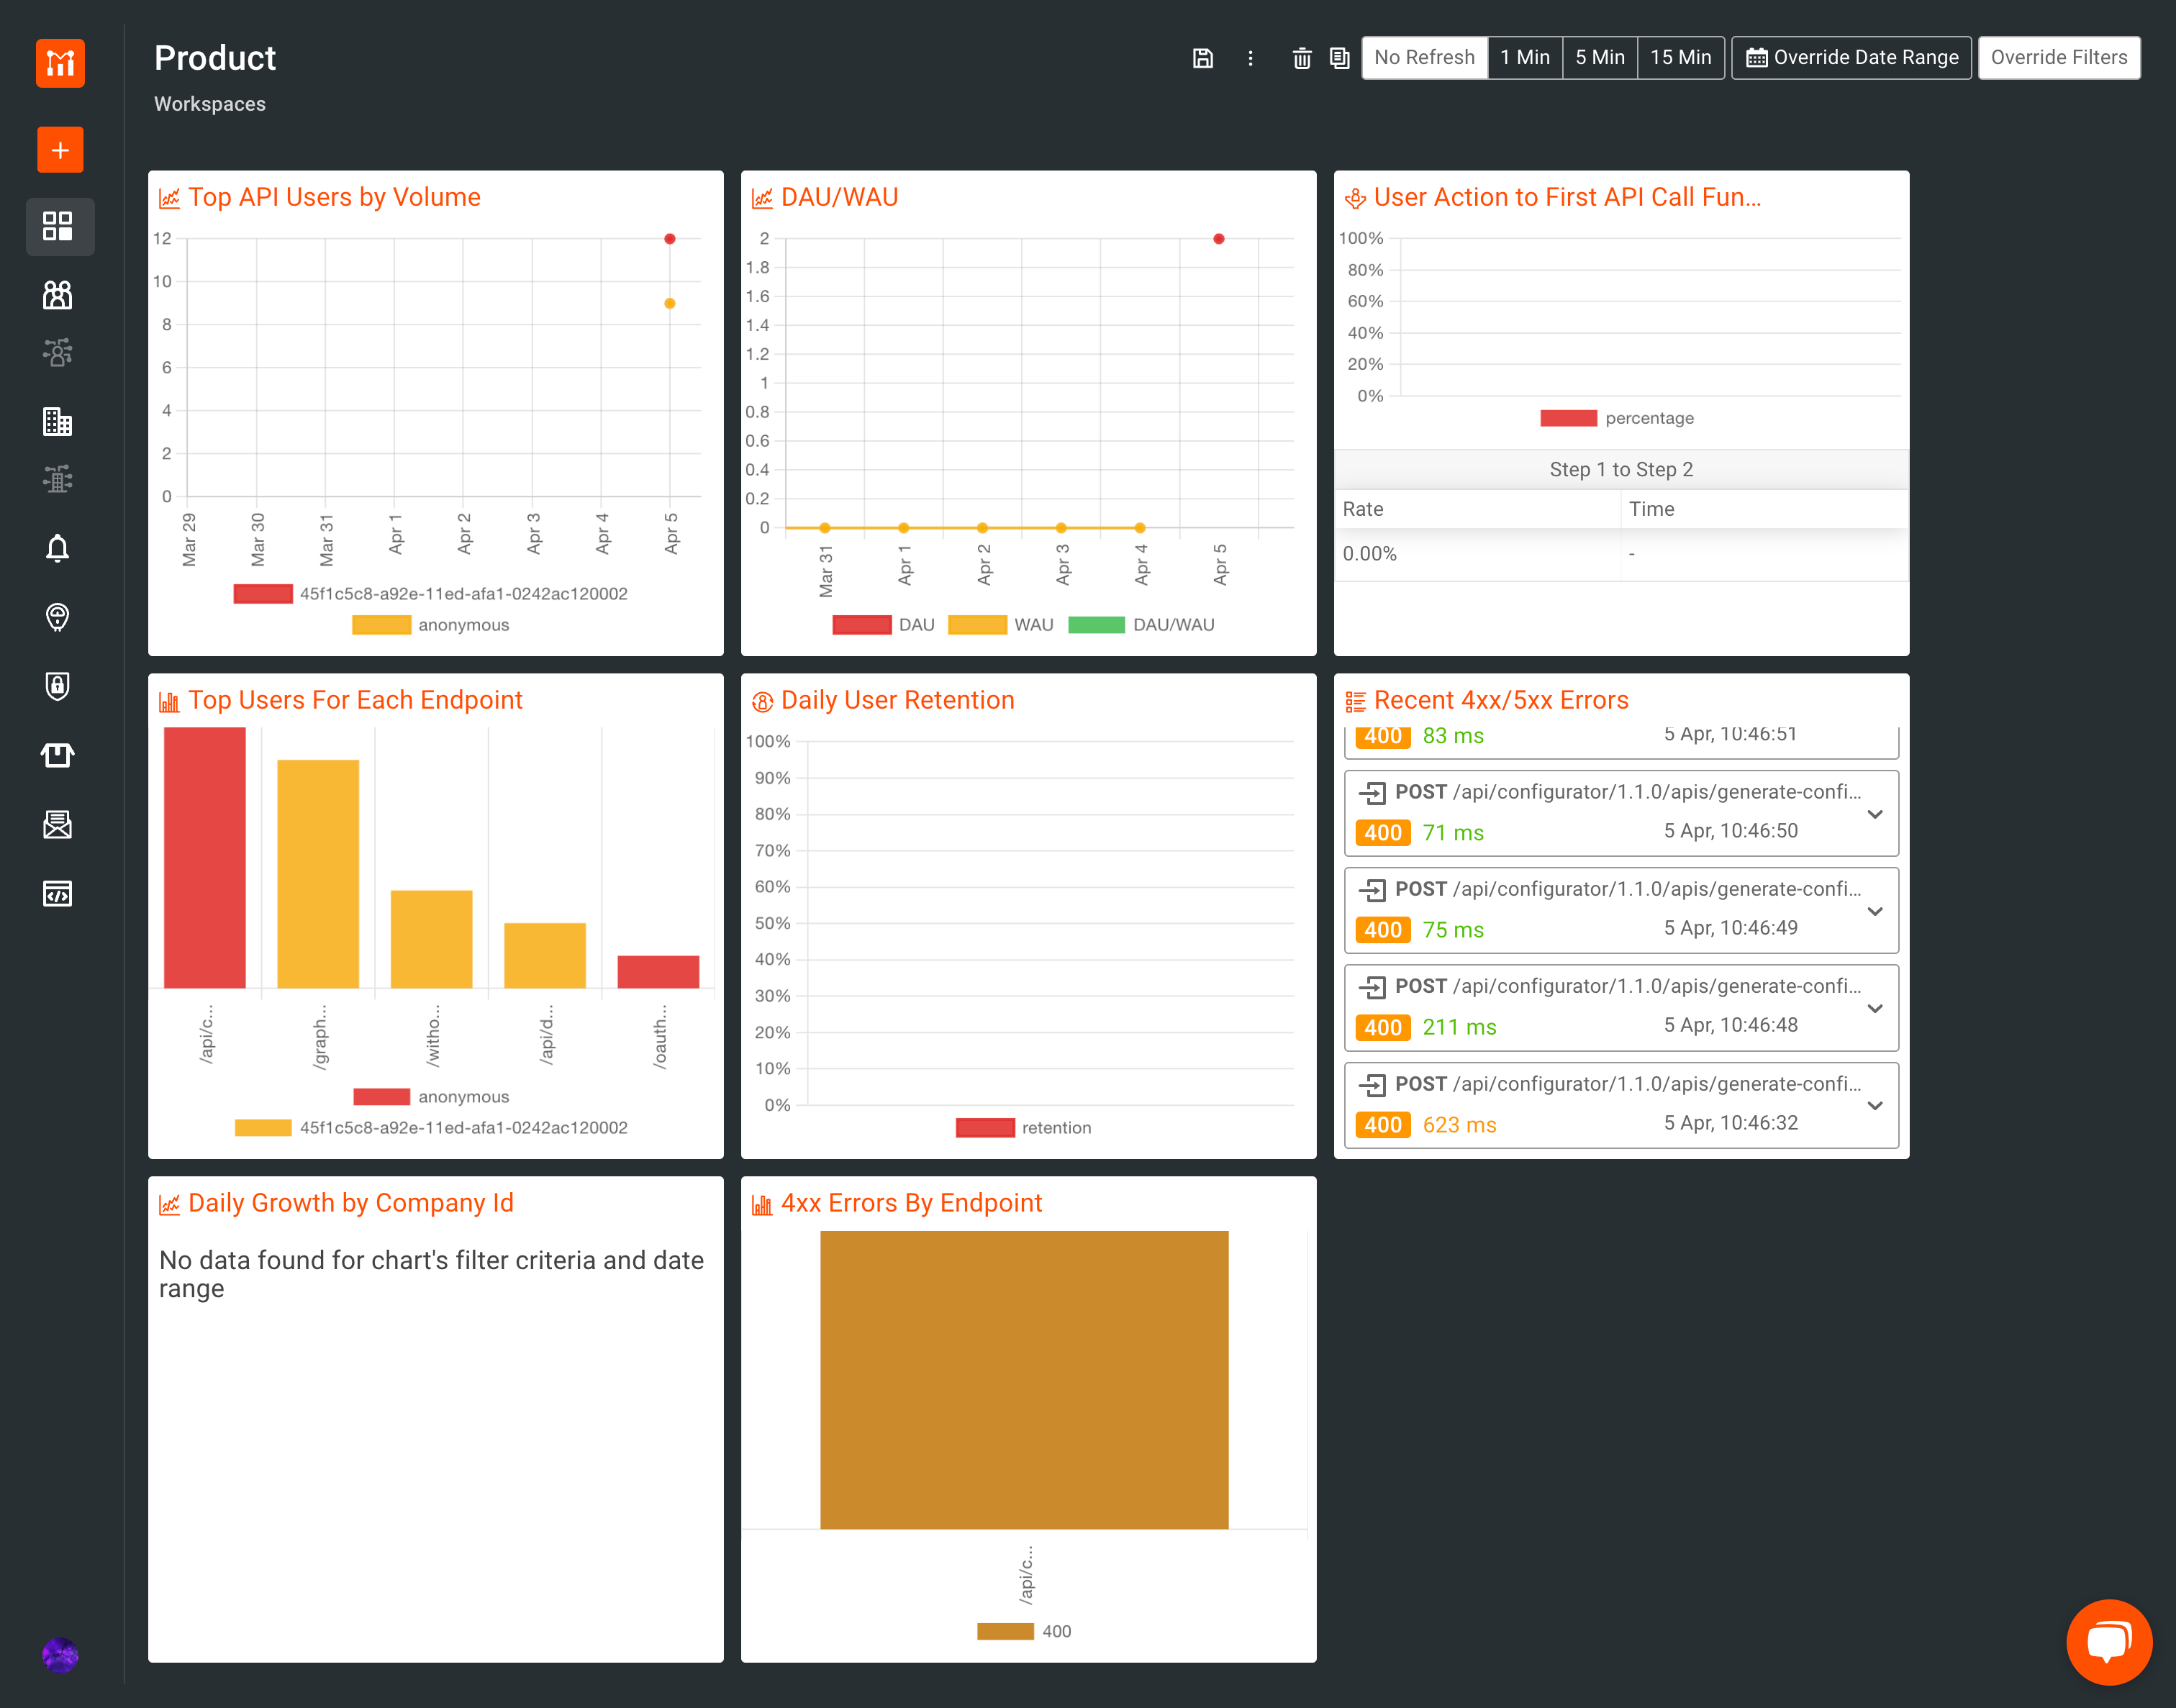
Go to your Moesif dashboard and you will be able to view your analytics reports.
The following is an overview of the graphs generated in the Moesif Dashboards.